

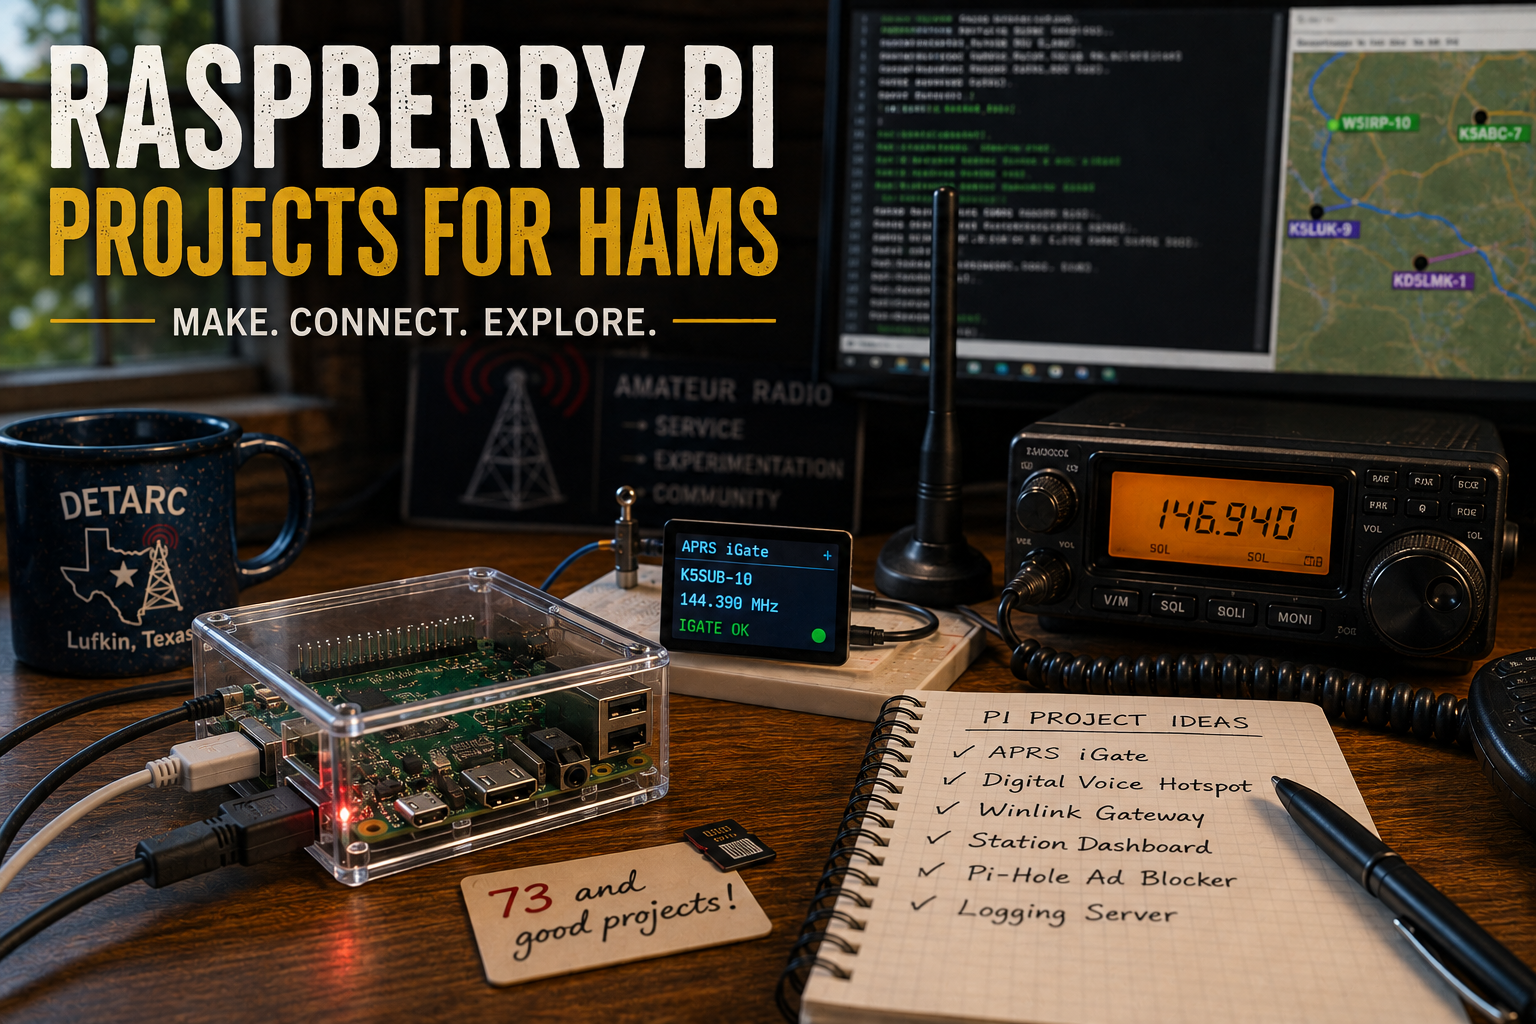
Raspberry Pi Projects for Hams
Excerpt: A Raspberry Pi can become an APRS iGate, digital-voice hotspot, Winlink station, SDR receiver, propagation display, or even an AllStarLink node. Here are practical Raspberry Pi projects a new ham can actually build.
The Short Version
A Raspberry Pi is a small Linux computer that happens to be unusually well suited to amateur radio.
Connect it to a radio, USB sound interface, SDR receiver, GPS, display, or network connection and it can become part of your station rather than simply another computer on your desk.
You can build an:
- APRS iGate or digipeater
- Digital-voice hotspot
- Winlink station
- Web-accessible SDR receiver
- Propagation and space-weather display
- FT8/digital-mode computer
- AllStarLink node
- Station dashboard
The trick isn’t finding something a Raspberry Pi can do.
It’s choosing one project and actually finishing it.
Why Raspberry Pi and Amateur Radio Fit Together
Amateur radio has always involved experimentation. Fifty years ago that might have meant soldering components onto a chassis. Today it can also mean connecting a radio to a Linux computer and writing a configuration file.
A Raspberry Pi gives you a complete computer roughly the size of a deck of cards with USB, networking, GPIO connections, audio options, and support for an enormous collection of open-source software.
That makes it particularly useful for jobs where you want a computer that can simply sit beside the radio and run continuously.
You don’t necessarily need the newest Pi, either.
A Pi 3 or Pi 4 may be perfectly adequate for many radio projects. A Pi 5 provides substantially more computing power for heavier applications such as SDR processing, graphical desktops, or running several services simultaneously.
Before buying anything, decide what you want the Pi to do.
Here are some good answers.
Project 1 — Build an APRS iGate with Dire Wolf
Difficulty: ★★☆☆☆
This is one of the best Raspberry Pi projects for a Technician because it combines radio, networking, Linux, packet radio, and APRS without requiring an enormous investment.
Dire Wolf is an open-source software implementation of an AX.25 packet modem/TNC. Instead of purchasing a traditional hardware TNC, the Pi can use a sound interface to decode the familiar 1200-baud APRS packets received by your radio.
Dire Wolf can be used as a software TNC and can support APRS applications including tracking, digipeating, and Internet gateway functions.
A basic receive-only iGate looks like this:
Antenna → VHF radio → audio interface → Raspberry Pi → Dire Wolf → APRS-IS
In North America, the primary APRS frequency on 2 meters is:
144.390 MHz
Dire Wolf decodes APRS packets received by your radio and, when properly configured as an iGate, can forward appropriate received packets to the APRS Internet System.
You can then watch stations received by your own equipment appear through APRS Internet services.
Once that works, the same Pi can become the foundation for more advanced packet-radio projects.
The Dire Wolf project also provides a Raspberry Pi-specific APRS guide:
Read the Dire Wolf Raspberry Pi APRS Guide →
What You’ll Learn
Linux configuration, radio audio levels, AX.25 packet radio, APRS, networking, and how RF information moves between radio and the Internet.
For a first serious Pi project, this one is hard to beat.
Project 2 — Build a Digital-Voice Hotspot
Difficulty: ★★☆☆☆
If you own a DMR, D-STAR, or System Fusion radio, a Raspberry Pi can become the computer behind your own personal digital-voice hotspot.
A common setup combines:
Raspberry Pi + MMDVM board + hotspot software
Your radio communicates with the MMDVM board using very-low-power RF. The Pi then connects that digital traffic to compatible Internet-linked amateur-radio networks.
Conceptually:
Handheld → RF → MMDVM/Pi → Internet → digital network
One well-known platform is Pi-Star, an amateur-radio digital-voice hotspot platform commonly used with Raspberry Pi and MMDVM hardware.
Explore the Pi-Star OS project →
This is an excellent companion project to our Digital Voice: DMR, Fusion, and D-STAR article because you get to see how the network side of digital voice actually works.
What You’ll Learn
Digital voice protocols, hotspot configuration, networking, Wi-Fi, callsign/DMR identification, and the difference between RF infrastructure and Internet linking.
One caution: a hotspot isn’t a replacement for a repeater. If the Internet connection disappears, so does its connection to the wider digital network.
Project 3 — Build a Raspberry Pi Winlink Station
Difficulty: ★★★☆☆
Winlink Express is primarily associated with Windows, but Linux users have another interesting option: Pat.
Pat is an open-source, cross-platform Winlink client developed primarily for Linux. It provides command-line operation and a browser-based interface and supports several methods of connecting to the Winlink system.
Explore the Pat Winlink client →
That means you can potentially build a small dedicated Winlink computer:
Radio → interface → Raspberry Pi → Pat → Winlink
Pair Pat with Dire Wolf and the Pi can use software-based AX.25 packet rather than requiring a conventional hardware TNC for compatible packet applications.
There is also a Pat Docker project demonstrating how several components can be assembled into a containerized Winlink environment.
Explore the Pat Docker project →
This is a more ambitious project, but it’s an excellent introduction to how several pieces of radio software can work together.
What You’ll Learn
Packet radio, Winlink, sound-card interfaces, Linux services, networking, rig control, and possibly Docker.
Project 4 — Turn an SDR Dongle into a Web Receiver
Difficulty: ★★★☆☆
This one feels a little like magic the first time it works.
Connect an RTL-SDR or another supported software-defined radio to your Raspberry Pi and install OpenWebRX+.
OpenWebRX+ can turn a Pi and compatible SDR into a receiver that you operate through a web browser. Depending on your hardware and configuration, it can provide a waterfall display, multiple receive modes, and decoding capabilities.
Your system becomes:
Antenna → SDR dongle → Raspberry Pi → OpenWebRX+ → Web browser
Put the Pi on your home network and you can operate the receiver from another computer, tablet, or phone using a browser.
With an appropriately secured remote-access configuration, the receiver can also potentially be accessed while you’re away from home.
This is a fantastic way to learn what an RF spectrum actually looks like instead of merely spinning a tuning knob.
What You’ll Learn
Software-defined radio, Linux, networking, web services, antennas, RF spectrum, and digital signal decoding.
Project 5 — Build a HamClock Propagation Display
Difficulty: ★☆☆☆☆
Remember all those solar numbers from our Solar Weather Without the Scary Science article?
Put them on a dedicated display.
HamClock provides a station display containing useful amateur-radio information such as propagation and space-weather data, maps, UTC time, and other operating information.
Add a small display and your Pi becomes a permanent radio-information panel sitting beside your station.
This is probably the easiest project on this list because it doesn’t initially require interfacing the Pi with a radio.
Visit the HamClock project page →
What You’ll Learn
Basic Raspberry Pi setup, Linux, displays, networking, propagation, and space weather.
If you’ve never touched Linux before, this is a good place to start.
Project 6 — Build an FT8 and Digital-Mode Computer
Difficulty: ★★☆☆☆
A Raspberry Pi can also become the dedicated computer attached to your HF station.
You can install applications for:
- FT8 and other WSJT-X modes
- FLDIGI and other digital modes
- Rig control
- Logging
- Propagation information
- Digital-mode utilities
Then connect the Pi to a radio with USB audio/CAT support or an external sound interface.
The architecture is straightforward:
HF radio ⇄ USB/audio ⇄ Raspberry Pi ⇄ digital-mode software
This gives you a small station computer that can remain connected to the radio without tying up your primary laptop.
A useful place to explore the enormous variety of amateur-radio software available for the Pi is HamPi.
I wouldn’t necessarily install every application simply because it exists. That’s how your nice little radio computer becomes the digital equivalent of the kitchen junk drawer.
Pick the software you actually need.
Project 7 — Build an AllStarLink Node
Difficulty: ★★★★☆
Ready for something considerably deeper?
A Raspberry Pi can become an AllStarLink node.
AllStarLink uses Asterisk-based Voice over IP technology to link amateur-radio systems. A Pi, appropriate radio interface, and transceiver can therefore become part of a network connecting repeaters and individual radio nodes.
A typical system looks like:
Radio → radio interface → Raspberry Pi/ASL3 → Internet → AllStarLink → other nodes
Unlike the HamClock project, this one introduces audio levels, PTT control, carrier detection, networking, Asterisk configuration, and radio-interface hardware.
In other words, when it works you’ll have learned quite a bit.
When it doesn’t work, you’ll learn considerably more.
Read the AllStarLink documentation →
What You’ll Learn
Linux administration, VoIP, Asterisk, radio interfaces, audio levels, PTT/COS signaling, and network troubleshooting.
Project 8 — Build a Station Dashboard
Difficulty: ★★☆☆☆ to ★★★★☆
Not every Pi project needs to transmit or receive radio.
A Pi connected to a small monitor can become a station information dashboard displaying things such as:
- Current solar conditions
- Propagation information
- DX cluster spots
- Local weather
- APRS activity
- Repeater status
- Station temperatures
- Network status
- Equipment voltage
- Upcoming nets
- UTC and local time
This project can start ridiculously simple: a Pi booting directly into a browser showing a dashboard webpage.
Later you can add tools such as Grafana or Node-RED and begin collecting information from your own station.
This is an especially good project if you enjoy programming because there’s no fixed definition of what your dashboard has to become.
Project 9 — Combine Projects
Here’s where Raspberry Pi gets really interesting.
Once you understand Linux reasonably well, one Pi doesn’t necessarily have to perform only one job.
For example, a station Pi might eventually run:
Dire Wolf + APRS iGate + Pat + GPSD + station dashboard
The Pat Docker project demonstrates this modular philosophy by combining independent services used for Winlink and radio applications.
But don’t start there.
Build one working service first.
Then add another.
That’s an important lesson in both amateur radio and computing: troubleshooting five things simultaneously is considerably less entertaining than YouTube makes it look.
What Hardware Do You Actually Need?
For most projects, start with:
- Raspberry Pi 4 or Pi 5
- Quality power supply appropriate for your Pi
- 32 GB or larger quality microSD card
- Case with adequate cooling
- Ethernet cable or Wi-Fi connection
Then add whatever the project requires.
For APRS or Packet
USB sound interface + appropriate radio interface/PTT arrangement
For SDR
RTL-SDR or another supported SDR receiver
For Digital Voice
MMDVM hotspot board
For Station Displays
HDMI monitor or small touchscreen
For Portable Projects
Appropriate regulated power source or USB-C power bank
Don’t underestimate the power supply.
Many mysterious Raspberry Pi “software problems” are actually cheap power supplies, bad USB cables, or marginal SD cards wearing fake mustaches.
Understanding Radio Interfaces
This is where many first projects go sideways.
A Pi needs some method of communicating with the radio.
Depending upon the project, that might be:
USB Audio
Carries transmitted and received audio between the radio and Pi.
Common for packet, digital modes, and Winlink.
USB Serial
Provides CAT radio control, frequency information, PTT control, or communication with external hardware.
GPIO
The Pi’s General Purpose Input/Output pins can control or monitor external hardware.
This can be useful for PTT, COS, LEDs, relays, sensors, and custom interfaces.
Do not blindly connect radio circuitry directly to GPIO pins. Correct voltage levels, protection, and electrical isolation may be required.
SDR USB Interface
An SDR receiver connects directly to USB and sends digitized radio information to the Pi.
No conventional receiver is necessarily required.
Your First Raspberry Pi Ham Project
If you’ve never used a Raspberry Pi before, I’d suggest this progression:
1. HamClock
Learn how to install an operating system, connect the Pi to your network, and administer Linux.
↓
2. RTL-SDR + OpenWebRX+
Learn USB devices, networking, SDR, and radio reception.
↓
3. Dire Wolf Receive-Only APRS
Learn radio audio and packet decoding without transmitting anything.
↓
4. APRS iGate
Now connect received radio information with APRS-IS.
↓
5. Pat/Winlink or Digital Modes
Introduce radio control and two-way communications.
↓
6. AllStarLink or Custom Station Services
Now you’re building actual radio infrastructure.
Each project introduces one or two new concepts instead of seventeen.
A Simple First-Week Challenge
Don’t buy anything yet.
Choose one of these:
- HamClock
- APRS iGate
- Digital-voice hotspot
- Winlink station
- OpenWebRX+ receiver
- Digital-mode station
- AllStarLink node
- Station dashboard
Then draw this on a piece of paper:
Antenna → Radio → Interface → Pi → Network
Cross out whichever components your project doesn’t need.
Underneath it, write down:
- Hardware I already have
- Hardware I need
- Software I need
- What I expect the finished project to do
If you can’t explain the finished project in one sentence, simplify it.
Where to Learn More
These are useful projects and documentation sources to bookmark:
- Dire Wolf — APRS/AX.25 Software TNC
- Dire Wolf Raspberry Pi APRS Guide
- Pi-Star OS — Digital Voice Hotspot
- Pat — Linux Winlink Client
- OpenWebRX+ — Web SDR Receiver
- HamClock — Propagation and Station Display
- HamPi — Raspberry Pi Amateur Radio Software Collection
- AllStarLink Documentation
How This Connects to the Bigger Hobby
The Raspberry Pi sits at a particularly interesting intersection in amateur radio.
You begin by installing Linux.
Then you connect a radio.
Pretty soon you’re learning about audio levels, serial communications, TCP/IP, AX.25, SDR, propagation, digital modes, GPS, antennas, RF paths, and network services.
That’s exactly what amateur radio is supposed to encourage: experimentation.
The Pi isn’t the hobby.
It’s another tool that lets you investigate the hobby.
Come Build Something With DETARC
You don’t need to figure this out alone.
If you’re in Lufkin, Angelina County, or the surrounding Deep East Texas area, bring your Pi, radio, half-finished project—or the SD card you accidentally destroyed at 1:30 in the morning—to a DETARC meeting.
Someone has probably done something similar.
- Weekly net: Tuesdays at 8:00 PM
- Primary repeater: 146.940 MHz, PL 141.3
- Club meeting: 4th Thursday at 6:30 PM, Fuller Springs VFD
And if nobody has built what you’re proposing?
Even better.
That’s how club projects start.
Choose Your Next Adventure
- Back to the landing page: You Passed Your Technician Exam. Now Choose Your First Amateur Radio Adventure.
- Current adventure: Adventure 3 — I Like Computers
- Next suggested article: Software Every Ham Should Know
Frequently Asked Questions
Do I need expensive equipment to begin?
Usually, no. Start with the equipment that fits the activity and ask local operators before making a major purchase. The best first station is often the one you understand and will actually use.
What if I make a mistake?
You probably will, and that is normal. Keep it courteous, identify with your callsign, correct what you can, and learn from it. Every experienced operator was new once.
Is this something DETARC can help with?
Yes. DETARC is a local club, which means you can learn from people who know the repeaters, terrain, common radios, useful antennas, and real operating conditions around Deep East Texas.

One Comment